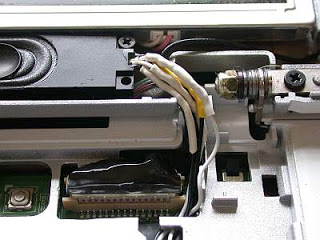
Now if you have a warranty, it would be a good time in invoke the warranty repair system and get this fixed properly. I bought my laptop as cheaply as possible and skipped the warranty in the process. I got to fix the problem myself.
To start with, Dell is kind enough to have partial disassembly instructions available on their website.
http://support.dell.com/support/edocs/systems/ins700m/en/SM/index.htm
I’m not sure how you’d find these normally, but I found a direct link to the page after searching Google for a while.
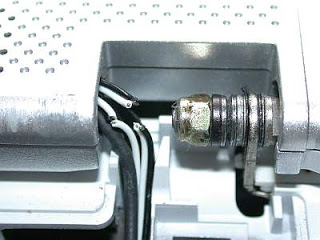
My next step, armed with these instructions, was to get into the computer and see what the problem was. I pulled off the bezel that sits along the top edge of the keyboard to start with. This bezel covers the hinge area, and as soon as I took it off, I could see the broken wires.
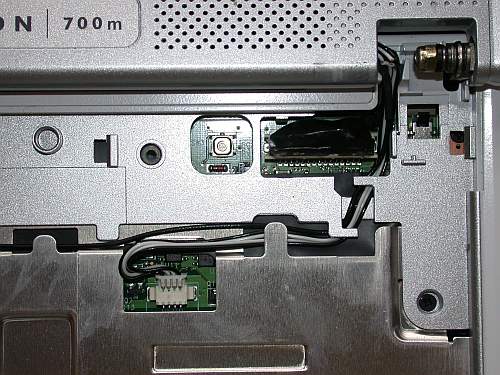
Unfortunately, there’s not much to work with at this point, so further disassembly is necessary. Following the instructions on the Dell site, I removed the keyboard to make some working space. This allowed me access to the speaker wire plug on the motherboard.
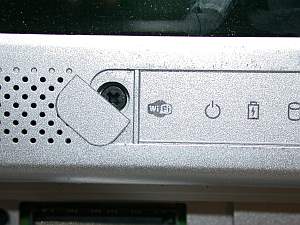
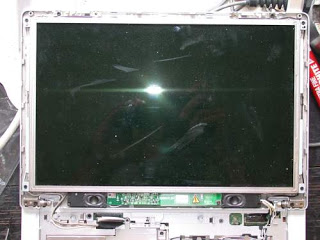
The Dell disassembly instructions don’t cover the removal of the screen-surround bezel on the 700m. It was necessary to remove this to get at the speakers themselves. Under each of the round rubber feet on the screen surround sits a screw. You can remove all these screws. Then you need to get at the hidden screw next to the wireless network LED at the bottom of the screen surround. You can access this screw by using a fine flat blade screw driver to peel up the silver sticker seen in the picture below.
The next step was to solder the broken wires back together. I stripped the ends of the wires, and added a short 3/4″ long section of wire between each break to make up some of the lost wire length. Each wire got a section of shrink tubing put on after soldering back together.
The modified bezel:

